

A brief evaluation
Keeping memories through pictures is an undying tradition, and what would be a better way to cherish and enjoy those moments than via encasing them in a customized cardboard photograph frame? In this comprehensive tutorial, we can lead you via each step of the system, making it greater concise and simple even for Child to design exclusive and individualized frames for their precious moments they've captured of their photos. This Make-it-yourself (MIY) and Do-it-yourself (DIY) challenge will not only save your money and time but additionally serves as a fun way to uncover your creativity.
Substances Required
- Waste Carton or Cardboard:
Look around and discover a properly and durable piece of cardboard. If you have recycled containers or extraordinary kinds of cardboard sheets in your safe then this may be a suitable option. - Ruler and Pencil:
Mandatory tools for accuracy in marking and measurements. - Scissors and Crafting Knives:
Select the tool relying on the thickness of your cardboard. - Ornamental Paper or cloth:
Go for a suitable material that enhances your snapshots. - Glue or Adhesive:
You may use a glue stick, gum or any other type of Crafting glue. - Double-Sided Tape:
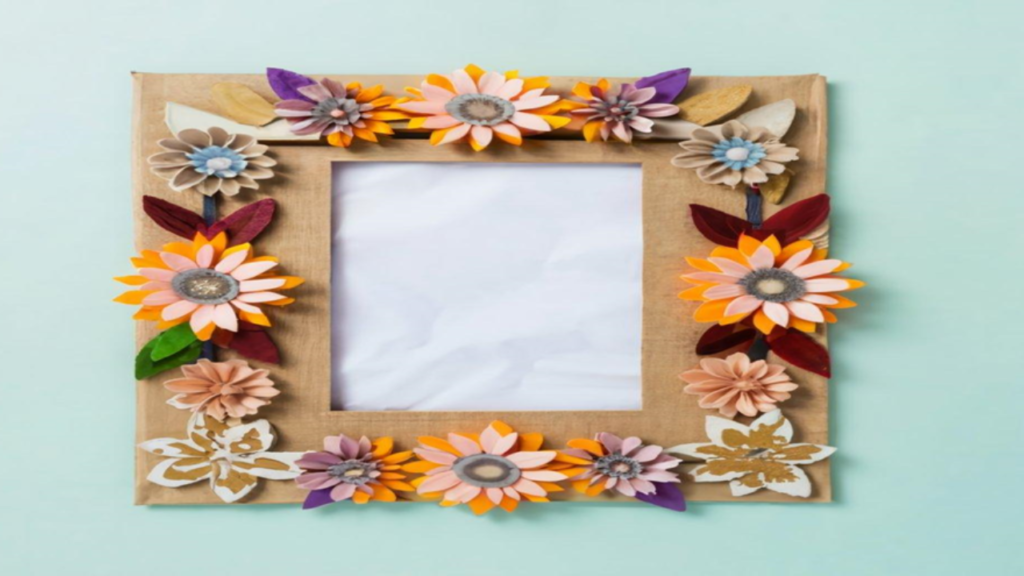
Use it for the proper encasing of your pix. - Decorative equipment or ornamental stuff:
In case you want to make your cardboard body extra decorative then pass for additions like ribbons, stickers and buttons, and so on.
Steps in making this masterpiece
Everything which is required in creating this masterpiece is available easily. Following are the steps in this crafting technique
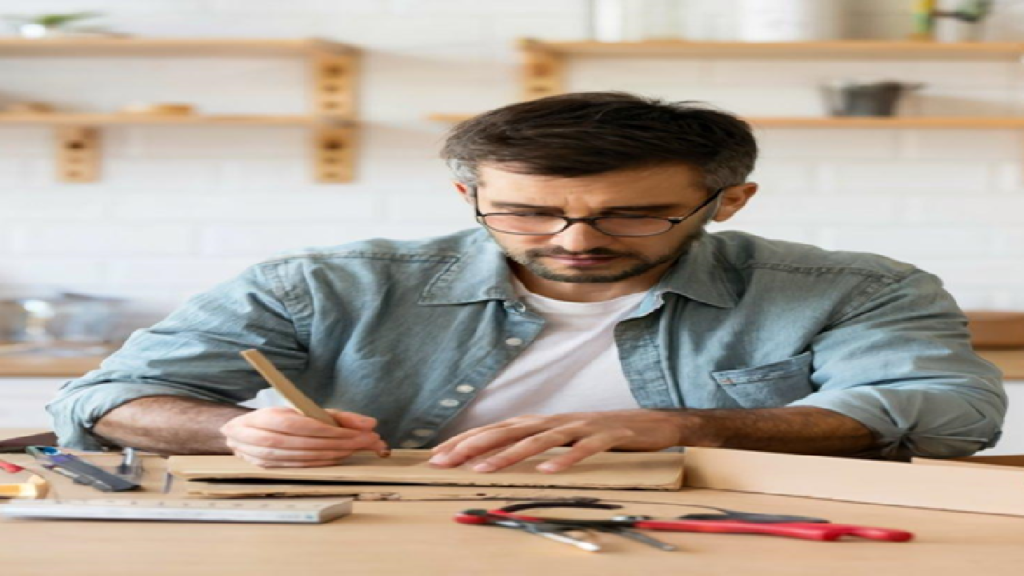
Step 1: Measuring and marking
To pursue your crafting, measure the dimensions like width and period of your photo body. Popular sizes consist of 8x10, 4x6 or 5x7 inches. Use ruler and pencil to determine and mark these measurements on the card. Make sure the accuracy in the course of this stage that's important to get a really perfect cardboard body that can make your encasing photographs fit.
Step 2: Cardboard cutting
After the measurements cautiously reduce alongside the measured lines using either a craft knife or scissors. Use an appropriate knife or scissor to cut the thicker cardboard smoothly. You should stay cautious whilst using scissors and knives to avoid any form of damage.
Step 3: Making designs of windows for pictures
Measured the required area on the cardboard body for displaying your snapshots. Use a pencil to mark this favored region on the card to ensure there may be a border around the distinct edges. Use the craft knife or any device you know to create a gap as a way to make the show for your photograph.
Step 4: Use fabric or any kind decorative paper
Select the material or any form of decorative paper that has assessment or suits with the issues of your images. Now reduce in a way to match the scale of your images which permit any extra cloth to fold over the rims. Apply the glue uniformly to the back of the cardboard and affix the chosen paper or fabric, to cast off any wrinkles making it look clean. Fold the extra fabric or any form of paper over the rims and use glue whilst concealing to present a few smooth texture and appearance.

Step 5: Customized additions
Now, it is time to unleash your creativity and permit your crafting techniques shine! Enhance your body using buttons, ribbons and stickers or any favored decorations at your crafted surprise. The step of customized edition comes with an opportunity to feature a few favored characteristics giving your craft a magic contact and make your exhibit uniquely yours.
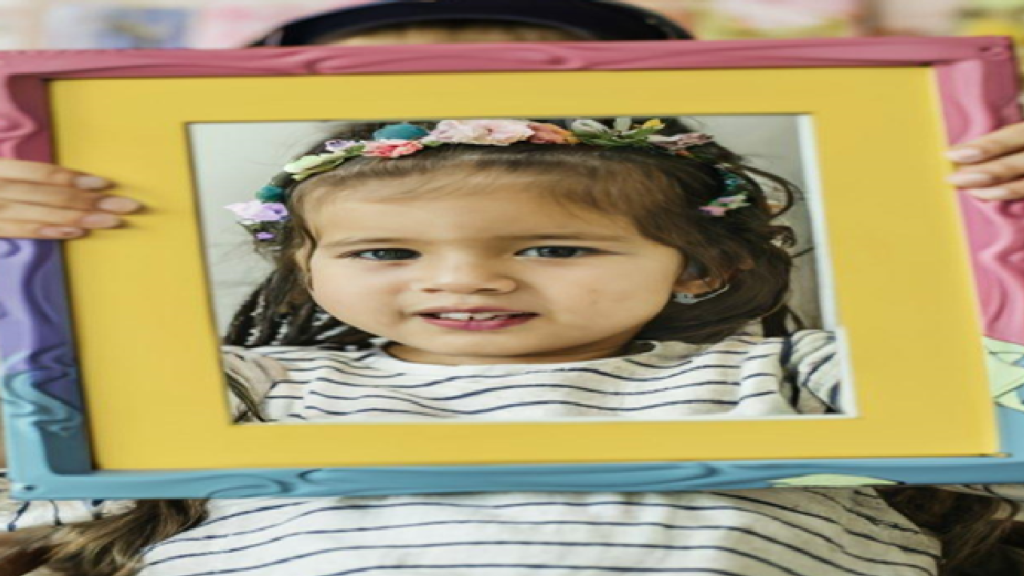
Step 6: Attach the photographs
Use double-sided tape to fasten your photograph at the back of the window of the frame. Ensure that the photo is centered and directly for a professional appearance. The use of double-sided tape allows for convenient removal and substitute of the photograph, if vital.
Step 7: Giving the very last touch
It’s time to study your craft, that is a cardboard body thoroughly for any desired additions or if you need to make any adjustments which can be required. Make sure that all edges are glued and are secured and locate your photographs firmly in a place.
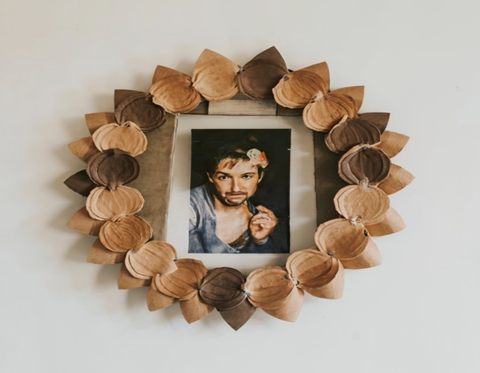
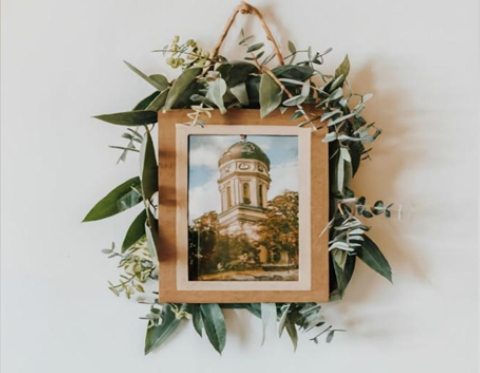
Your masterpiece is ready to showcase your artistic and creative skills.
Hurrah!!!!!!!!
You have finished your Cardboard frame and with particular capabilities of your craft you've unleashed your potential of creativity and love for artwork. Congrats!!!!!!!
This DIY and MIY undertaking has not the handiest furnished you with a special imply of displaying your loved recollections but additionally has enabled you to Inculcate your precise personalized style into the frame itself.
Now experience is free to do experiments with different styles and shades, and decorations to create versatile cardboard frames that uniquely complement your images while unleashing your creativity including a hand-crafted appeal in your living space with personalized contact. So enjoy the distinct attitude of crafting and reviving your loved moments through this incredible assignment. Glad crafting!