
Dive into the fascinating world of creating paper Mache, a flexible and age-antique craft that helps you to create beautiful, practical pieces of art. In this comprehensive guide, we'll focus on the artwork of making paper Mache bowls—a way to feature a touch of elegance to your room or any exposing space home. The impressiveness of paper Mache lies in its simplicity and accessibility, making it an excellent craft for all ability levels. Join us in this journey as we explore the materials wished, step-by-step instructions, and creative distinctions to help you craft your personal beautiful paper Mache bowls.
Evaluation in History
The word paper Mache is derived from the French word "papier mâché'' which gives the meaning of "chewed paper". It traces back to historical Chinese culture. Historically, it was used for different kinds of crafts, which includes ritual masks to ornamental makeovers. Over the years, this Handicraft technique exceeded terrestrial barriers, locating its way into Middle Eastern, European and Indian traditions. Each and every culture is filled with its precise innovative shades.
Materials you need for Paper Mache Bowls
Collecting the suitable materials is necessary for a hit paper Mache task. But don’t worry. Luckily required substances are available without any problem at your home. Maybe you think of this stuff as waste. But if not available then you can have these substances and these are budget-friendly:
Newspaper Strips: First of all find different newspaper strips. Using it also makes the whole process eco-friendly. It is the number one constructing block on your paper Mache base.
Flour: We use it for growing a paste that binds the newspaper strips tightly.
Water: We have to use the right amount of water to secure the proper consistency for the paste. Maintaining the viscosity will help in making the paste suitable for the desired purpose.
Balloon or Bowl form: The balloon or Bowl will form the base around which you will mold your paper Mache bowl.
Craft Paints: You can use different colors for adding shade and personalizing your advent.
Paintbrushes: Paint brushes of various sizes are used for making different intricate details.
Sealant (non-compulsory): This is used to guard and end the surface of your paper Mache bowl.
Developing the Paper Mache Paste
The heart of paper Mache lies in its correct composition of paste. Okay let’s start making the paste. First of all blend equal elements of flour and water in a bowl, continue stirring until you gain a clean, glue-like consistency. Modify the ratio as wanted, aiming for a paste that is neither too runny nor too thick. This paste serves as the adhesive agent like glue or gum stick that transforms unpretentious newspaper strips right into a solid, moldable cloth.
Building the bottom
Constructing the mold
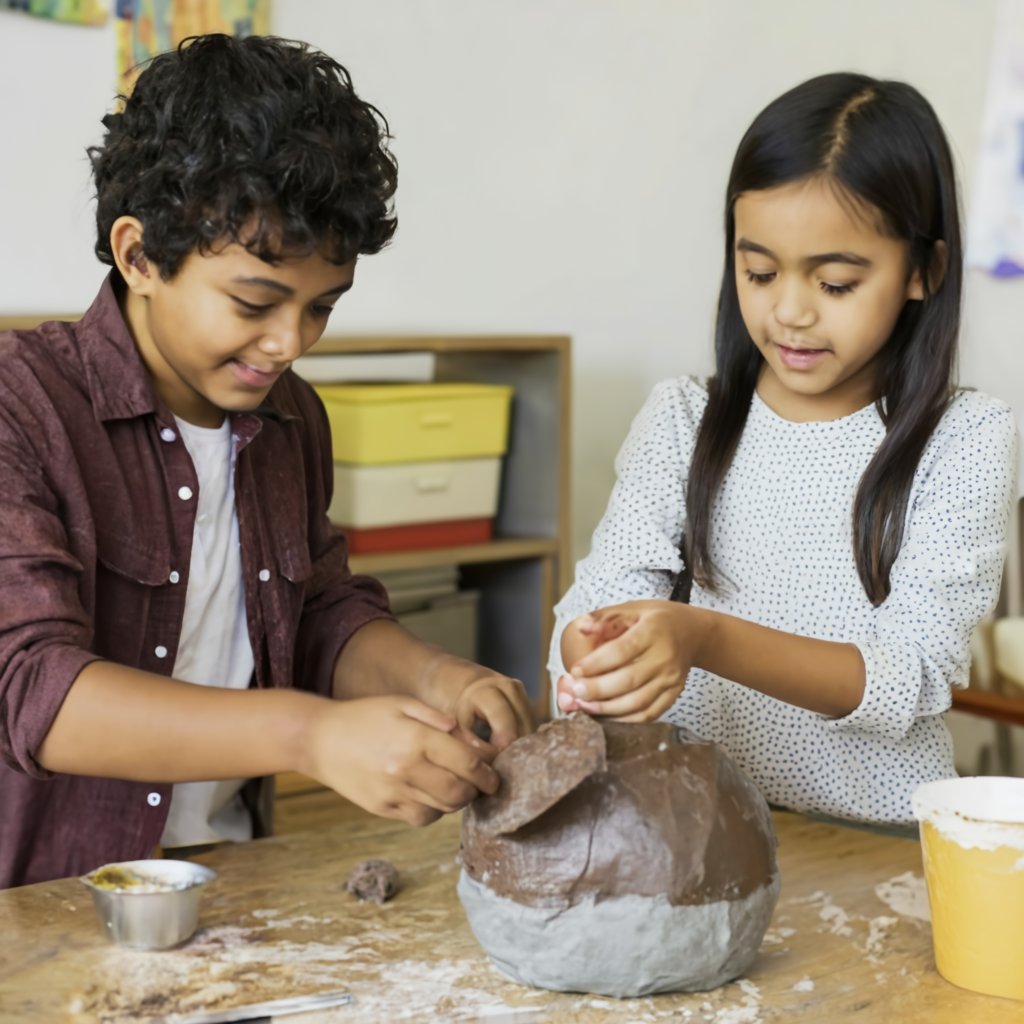
To create the shape of your paper Mache bowl, inflate a balloon or use a bowl as your mold. This could decide the size and form of your final outline. Apply a skinny layer of the paper Mache paste onto the balloon or bowl, then start layering newspaper strips over it, making sure each strip is covered with the paste. Preserve layering till you obtain the favored thickness, typically 3 to 4 layers. Allow each layer to dry earlier than adding the next.
Shaping and Sculpting:
Here are some steps in shaping and sculpting process:
Molding Your Bowl

As soon as the layers are dry, gently pop the balloon if you use one. Carefully remove the bowl from the paper Mache mold, revealing the hollow shape. Now, refine the form by trimming the rims with scissors. Clean any rough regions with sandpaper, creating an unbroken surface for portraying.
Including color and persona
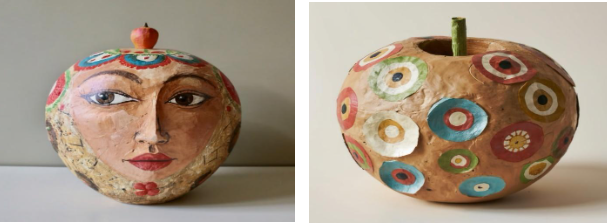
This is where your paper Mache bowl genuinely involves lifestyles. Use craft paints to feature colorful colors and styles. Test with different techniques like sponge portray, applying, or freehand designs. Allow the paint to dry between layers to save you blurring. Do not hesitate to allow your creativity flourish as you rework your simple paper Mache base into a customized masterpiece.
Final Touch
Sealing and shielding
To preserve the beauty of your paper Mache bowl and provide a protective layer, keep remember applying a sealant.
Clean acrylic sealers work properly for this purpose. Allow the sealant to dry absolutely before showing or the use of your paper Mache bowl.
Creative varieties and ideas
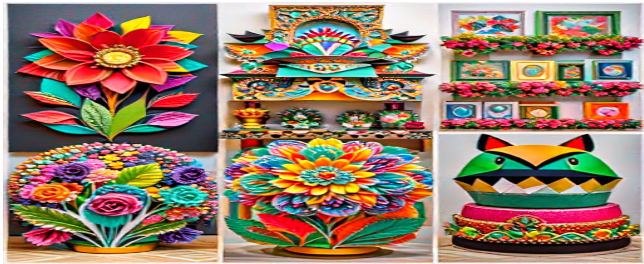
As you become extra skilful at paper Mache creation, do experiment with one of a kind shapes, sizes, and layout elements to unleash your creativity. Upload texture using substances like tissue paper or material scraps. Mix firm items or strategies for an eclectic touch. The opportunities are endless, allowing you to craft bowls that fit your aesthetic preferences and supplement your living area.
Here are some ideas to showcase your creative masterpiece
Showing your crafted gadgets correctly can flip them into captivating focal points in your house. Here are some creative ideas to exhibit your crafts:
Shadow bins:
Shadow bins are ideal for showing small and delicate crafts. Set up your gadgets inside the field, and dangle it at the wall or locate it on a shelf for a three-dimensional and visually interesting display.
Devoted Craft Wall:
Designate a specific wall in your own home as a craft display region. Deploy pegboards, cabinets, and hooks to arrange and showcase your crafts. This committed space can evolve through the years as you create new pieces.
Gallery Wall:
Create a gallery wall with the aid of arranging your crafts in a grid or eclectic sample. Mix and healthy different shapes, sizes, and textures for a dynamic and visually stimulating display.
Open Shelving gadgets:
Use open shelving gadgets to show your crafts along different ornamental items. Recollect incorporating baskets or decorative containers to prepare and supplement your crafted portions.
Repurposed furnishings:
Exhibit your crafts on repurposed furniture pieces like antique cabinets, bookshelves, or show shelves. The juxtaposition of your home made objects towards the unique character of the fixtures provides interest.
Mantel or fire display:
If you have a mantel or a hearth, use it as a focus for showing your crafts. Arrange them along candles, vases, or different ornamental gadgets for a cohesive and elegant appearance.
Below Glass Cloches:
Vicinity you’re smaller crafts underneath glass cloches or domes. This no longer best protects sensitive gadgets but additionally adds an elegant and museum-like touch to your show.
Tray presentations:
Set up your crafts on decorative trays on tables or counter tops. This creates organized vignettes and allows you to without problems circulate the show while wished.
Crafted Wall Hangings:
Turn your crafts into wall hangings or tapestries. Whether or not it is a collection of hand-woven portions or a chain of framed crafts, this technique transforms your creations into useful and attractive wall artwork.
Themed Groupings:
Group your crafts based totally on subject matters, colorings, or substances. This creates a cohesive and intentional display that tells a story or highlights specific design factors.
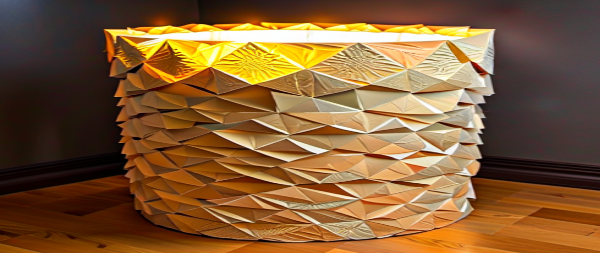
Incorporate lighting:
Illuminate your craft show with cautiously positioned lighting. Don't forget the use of wall sconces, spotlights, or string lighting fixtures to add warm temperature and spotlight particular portions.
Rotating presentations:
Maintain your display dynamic via rotating your crafts periodically. This ensures that your space feels sparkling, and it permits you to showcase extraordinary portions.
Keep in mind to evolve these thoughts based totally on the size, style, and quantity of your crafted gadgets. The goal is to create a visually appealing and in my view significant show that displays your specific inventive imaginative and prescient.
A hand made Masterpiece
Inside the realm of DIY crafts, paper Mache bowls stand out as both reachable and refined. Crafting those stylish bowls affords not only innovative outlets but also functional and visually attractive portions for your home.
The pleasure of remodeling basic materials into customized paintings of art is unparalleled. So, collect your supplies, unleash your creativity, and embark on the spellbinding journey of crafting paper Mache bowls that reflect your specific fashion. Glad crafting!